Tags
Tags help your team quickly understand what's going on in player conversations. Whether you're chasing down bugs, GDPR questions, or lost accounts, tags are your best friend.
Here's a step-by-step rundown:
Creating and managing tags
- Navigate to tags:
- Go to your Settings and click Tags.
- You'll see a neat list of all your current tags. Need more? Click on Create new tag.
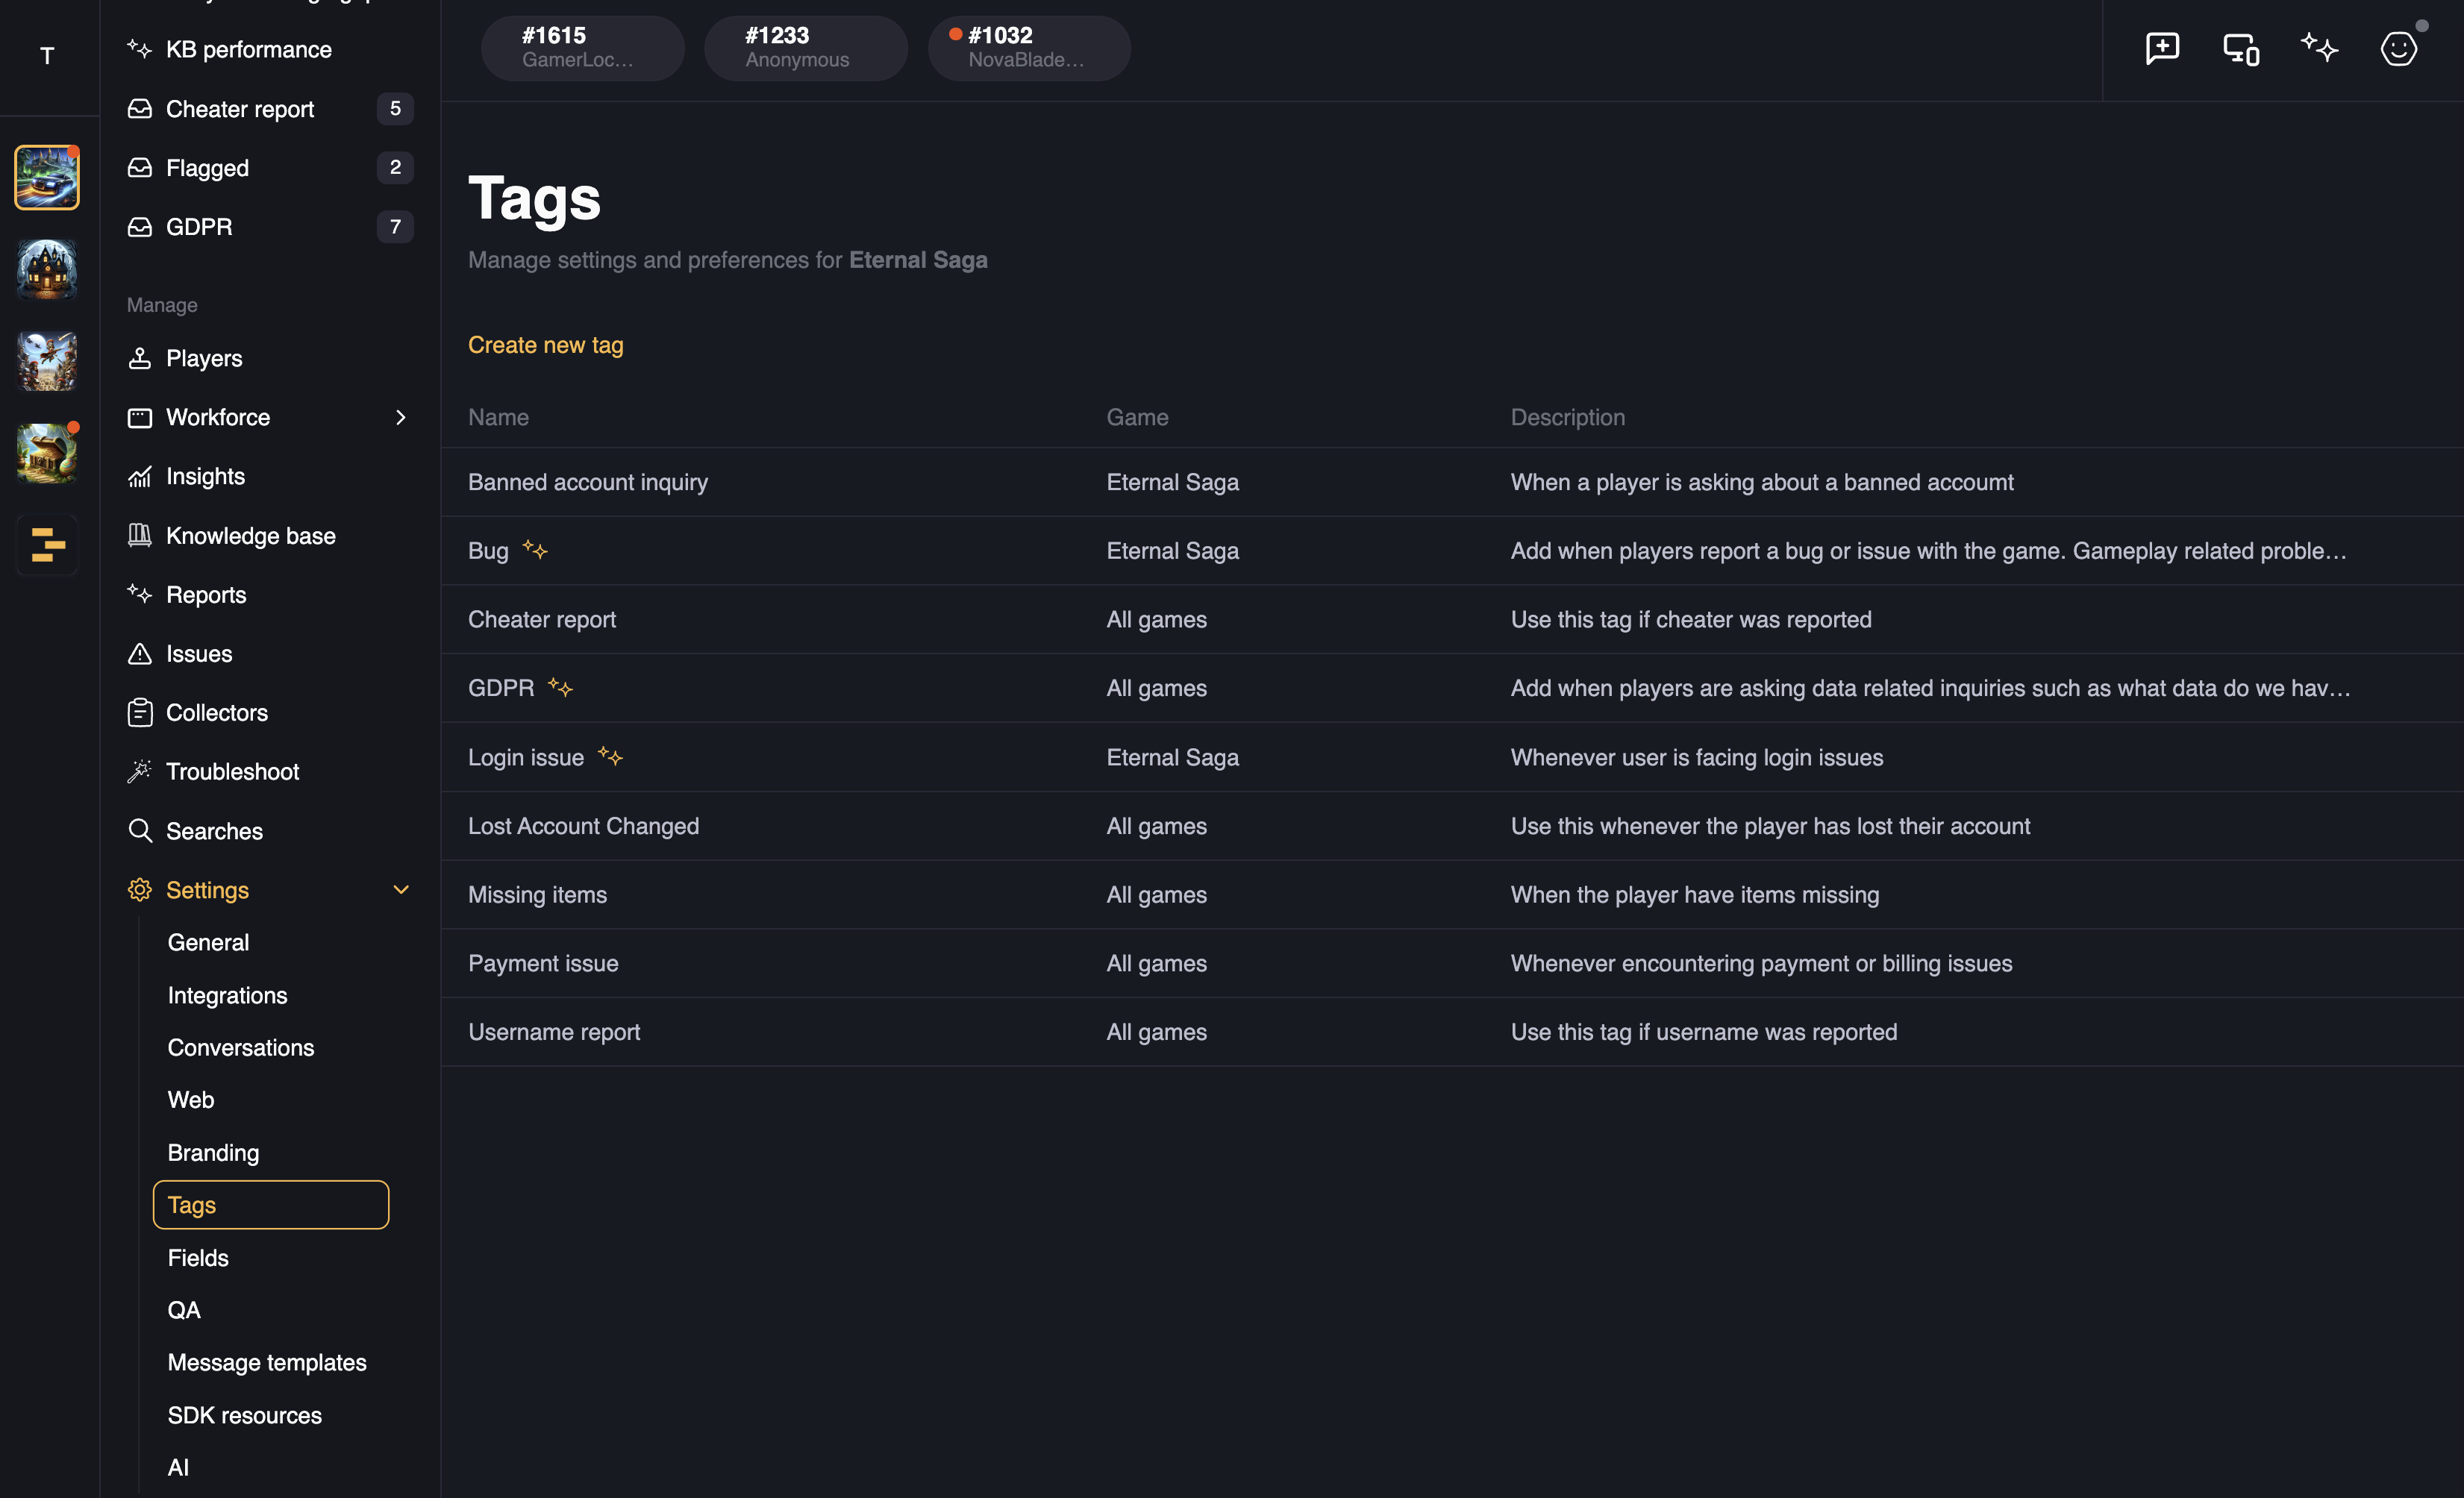
- Define your tag:
- Give your tag a clear name like Bug or GDPR.
- Write a clear, human-friendly description. Imagine you're instructing a new teammate:
- Good example: "Add when players report a bug or issue with the game. Gameplay-related problems like not being able to complete a level are not bugs."
AI-enabled tags: automate like a pro
- Toggle AI enabled tag to let AI auto-tag conversations based on your description. Yes, the robots are pretty smart around here.
- Adjust the AI confidence level slider:
- Start with medium. It's usually the sweet spot.
- Move to high if you need fewer but highly accurate tags.
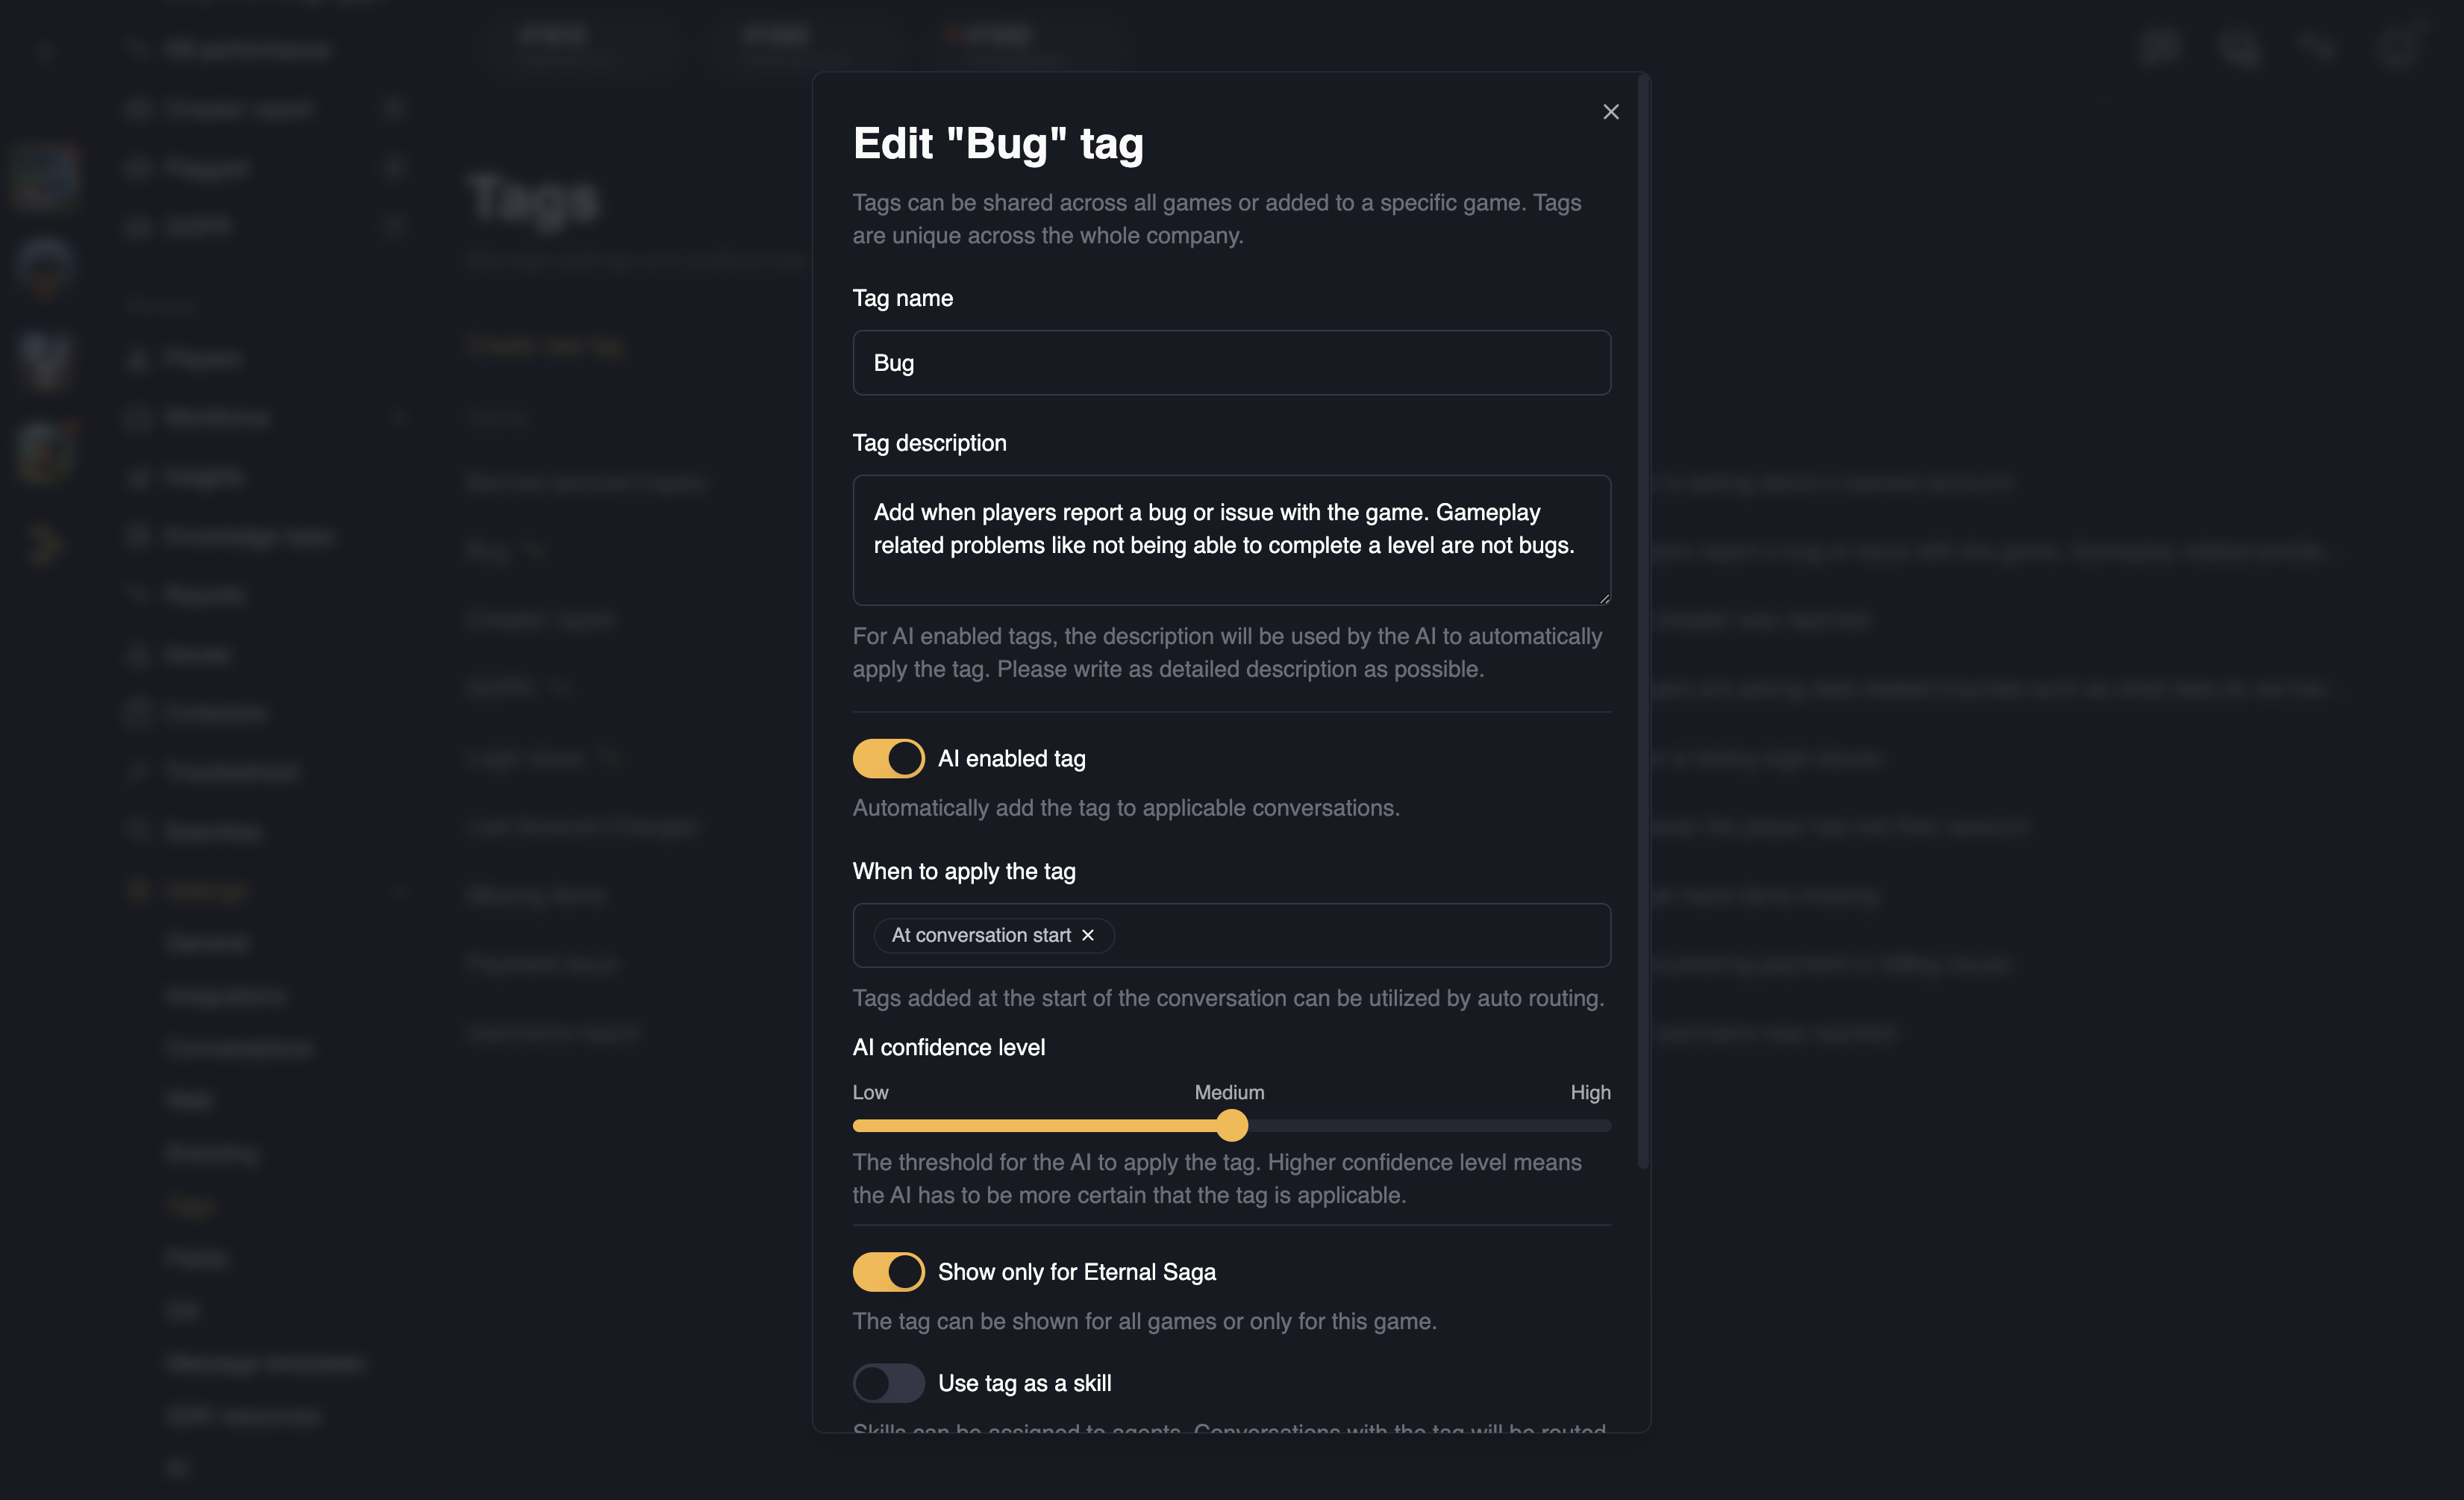
When to tag? You decide!
- Choose if the AI applies tags at the start or end (or both!) of a conversation.
- Pro tip: tagging at the start can route tickets faster, while tagging at the end helps track resolutions.
Game-specific or company-wide? Your call.
- You can make tags available for a specific game or roll them out company-wide. Got an "Eternal Saga" specific issue? Tag it exclusively for that.
Tags as skills: level-up your routing
- Flip the switch on Use tag as a skill if you want advanced routing:
- For example, GDPR questions can go directly to your privacy experts.
Now your tagging game is officially next-level. Keep calm, tag on, and watch support life get a whole lot smoother.
Was this helpful?